
Blog
How to Retrofit a Central Vacuum into a Finished House

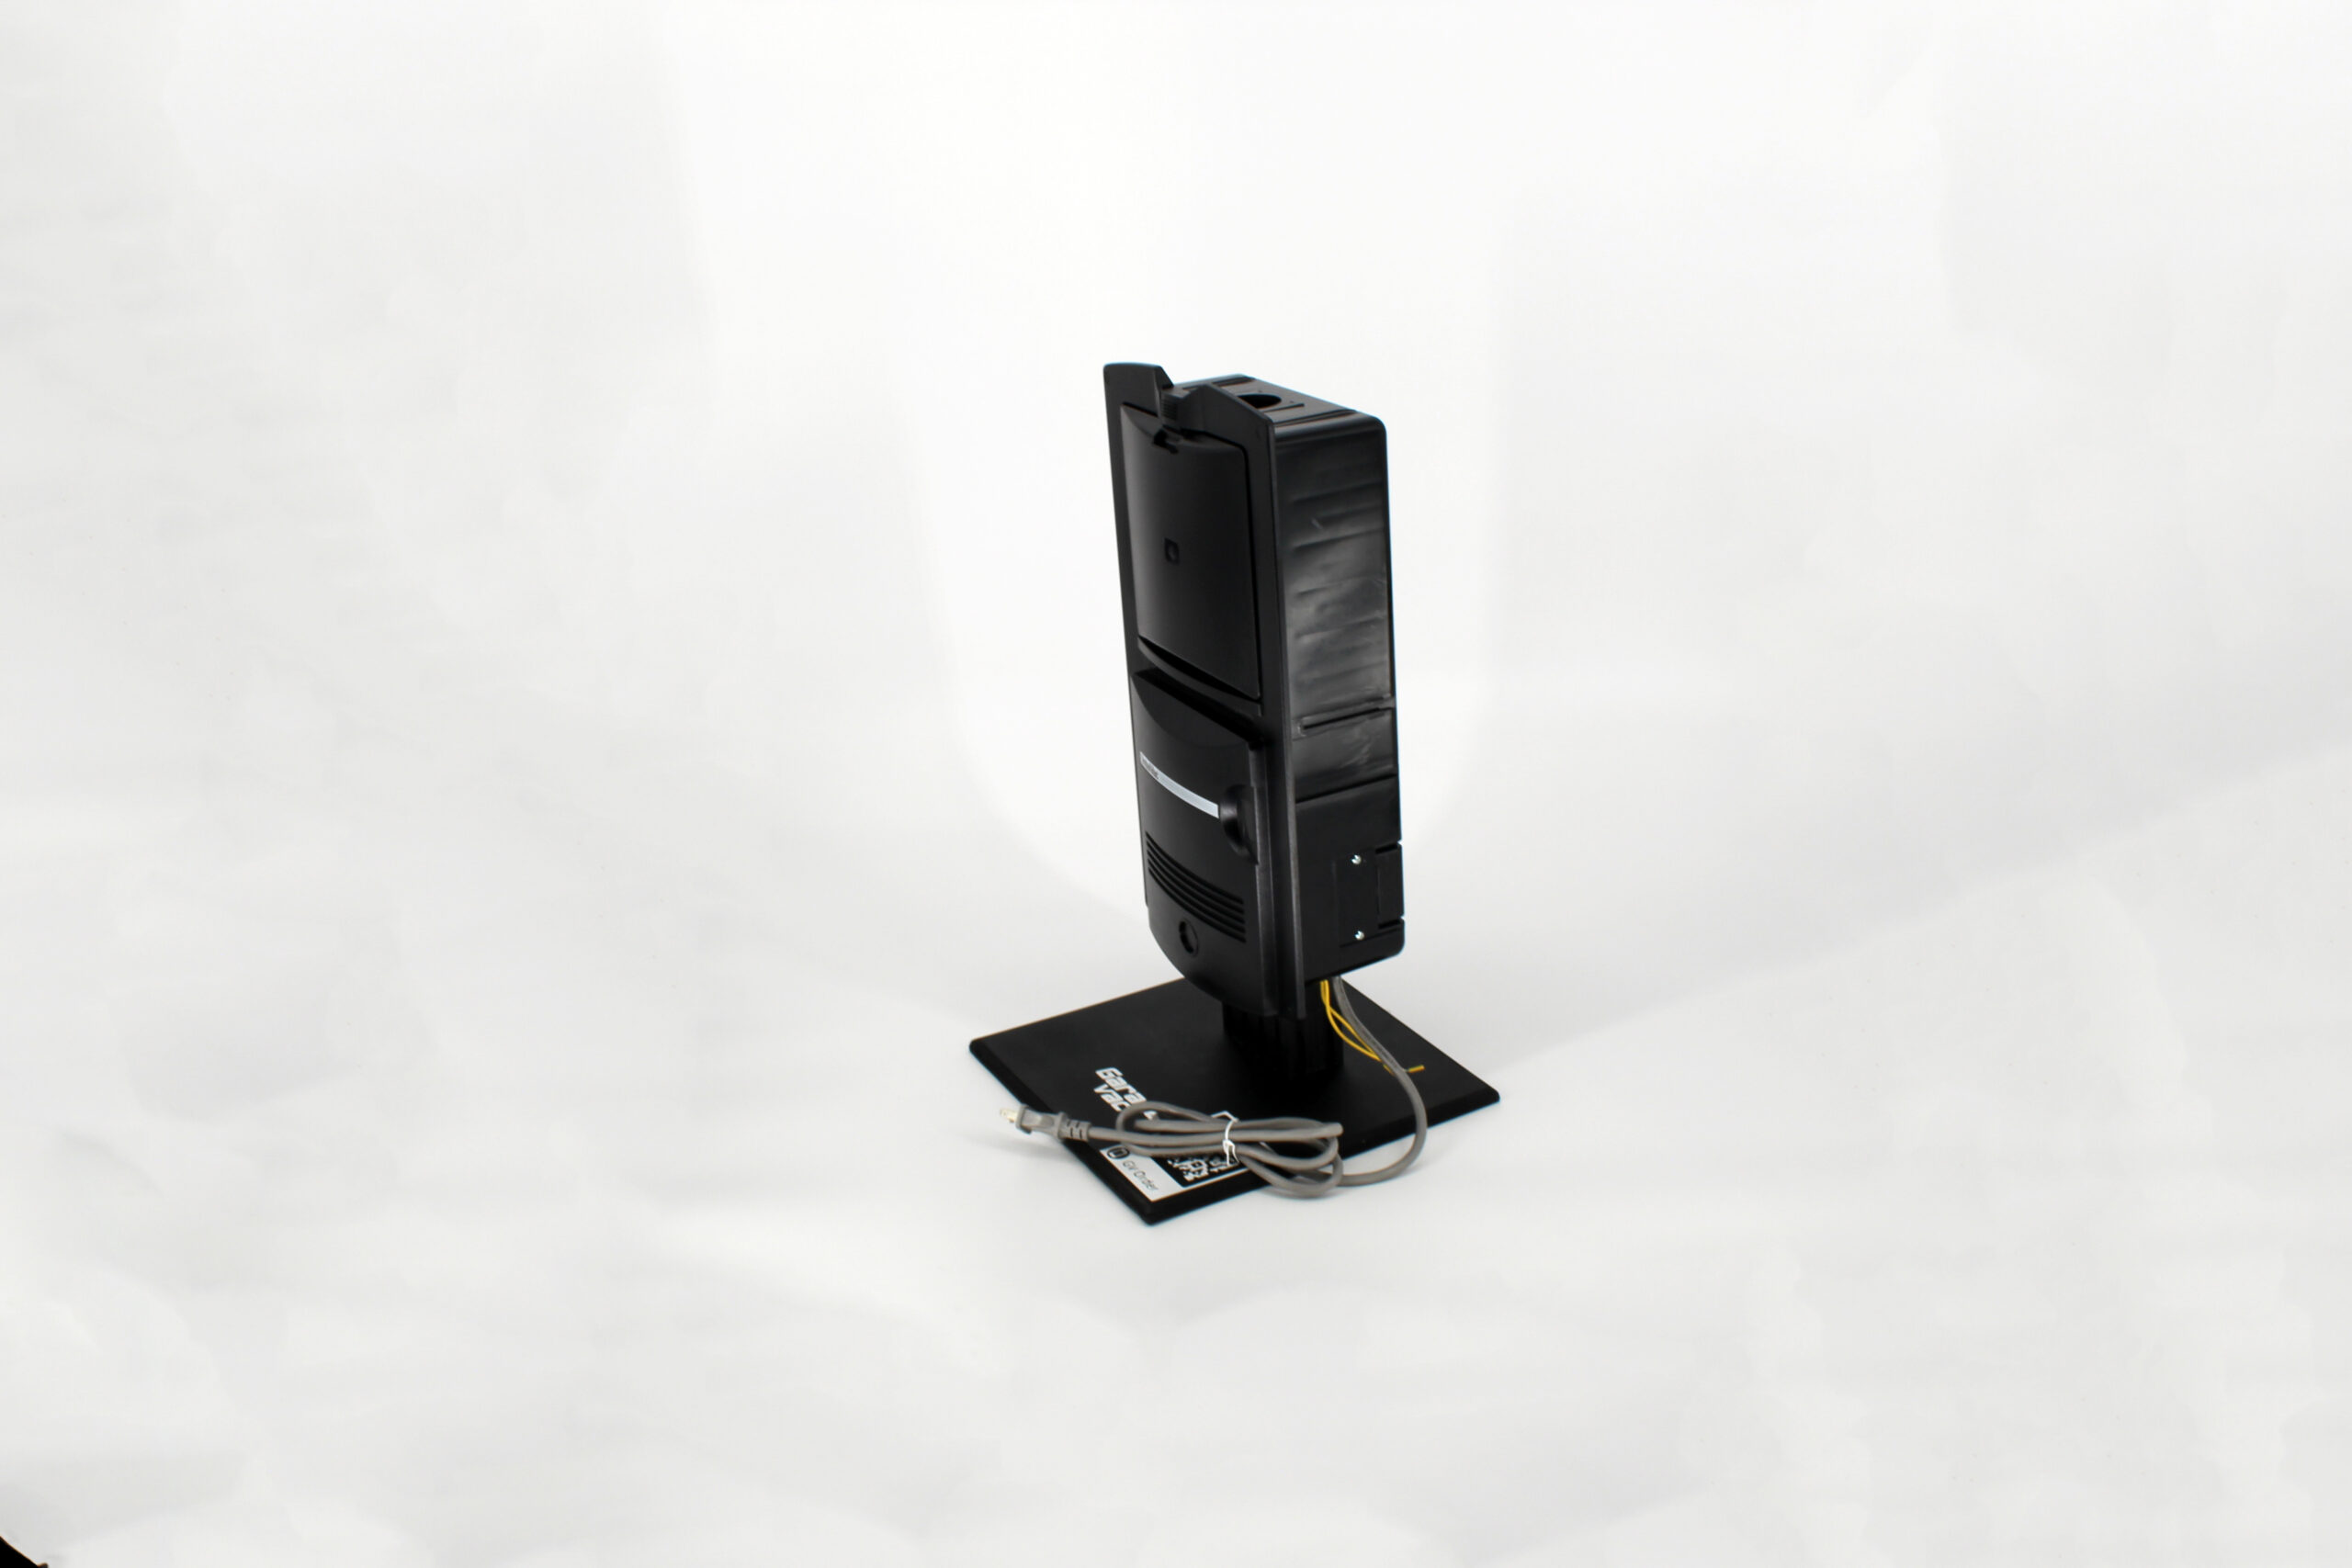
The most common reason people rule out a central system is that their walls are already closed. It is a fair concern and usually an unnecessary one. A retrofit central vacuum uses routes that already exist in the house, and most installs need far fewer holes than owners expect.
Here is how to survey a finished house and find the runs.
Start by finding the vertical route
Everything hinges on getting pipe from one floor to another. Before you plan a single inlet, walk the house looking for a vertical path. The usual candidates are:
- Stacked closets, where an upstairs closet sits directly above a downstairs one.
- A chase beside a plumbing stack or a disused chimney.
- The cavity behind a boxed-in soffit or a dropped ceiling.
- An exterior wall corner where the framing leaves a usable void.
If you find one good vertical route, the rest of the job becomes a series of short horizontal runs off it. If you find none, you are usually looking at an exterior-mounted chase or a two-zone system instead.
Attic and basement do the horizontal work
In most houses the attic feeds the top floor and the basement or crawlspace feeds the ground floor. That combination covers a two-storey home with only one vertical drop between them. Knowing the framing type helps here, and general guidance from bodies like InterNACHI is useful background on what is likely behind your walls.
Place the power unit for access, not aesthetics
Garage, basement or utility room, in that order of preference. It needs a dedicated 120V outlet, clear space in front of the bag door, and a reasonably central position relative to your runs.
Do not hide it somewhere you will resent visiting. You will be there every few months to change a bag, and an awkward location is the single best predictor of a system that gets neglected.
Plan inlets by hose reach, not by room
With a 35+ ft hose, one inlet covers a working radius of roughly thirty feet once furniture and doorways are accounted for. In a retrofit, that generosity is your friend, because it means fewer inlets and fewer wall penetrations.
Aim for one inlet per floor in a compact house and two or three per floor in a larger one. Put one near the stairs, since stairs are the job people most want the system for. Add a garage inlet if the run is short, and consider a kitchen-level VacPort, which is an automatic dustpan you sweep into. Those fit most brands, not only ours, and the range is on our VacPort page.
Cutting in, with the least damage
Work from the inlet position back toward the pipe, not the other way. Drill a small locator hole first and check with a bent wire before you cut anything the size of an inlet plate.
Fish the low-voltage wire down alongside the pipe as you go, and leave generous tails at each end. Splicing inside a wall is the repair nobody wants to make later. Two 22-gauge conductors are all that is needed.
Sweep bends, always
In a retrofit the temptation is to use tight elbows to get around an obstacle. Resist it where you can. Every sharp turn creates turbulence and costs airflow, and a retrofit run is often longer than a new-build one to begin with. Two 45-degree bends beat one 90 nearly every time.
When to split into two zones
Sometimes the honest answer is that one system is the wrong shape for the house. A detached garage, an addition over a crawlspace, or a third floor with no vertical route are all cases where a second self-contained unit costs less than forcing the pipe through.
A GarageVac on the garage and an InterVac Pro on the house is a common and sensible split. It also means a blockage in one zone never takes the whole house offline.
Commissioning
Fit the inlet valves last, after paint. Then test every inlet in turn, working from the furthest one back toward the unit. Push the hose in, confirm the motor starts, and check suction by hand. A leak at a glued joint shows up first at the furthest inlet, which is why you start there.
Finally, write the model number near the unit so you can order the right bag in three years.
Retrofit questions
What if I have no attic or basement?
A slab-on-grade single storey is the hardest case. The usual answers are a soffit chase, an exterior-mounted enclosure, or accepting fewer inlets in a straight line along one wall. Sometimes two self-contained units genuinely beat one piped system.
How much drywall damage should I expect?
Less than people fear. A typical three-inlet retrofit means three inlet cut-outs and one or two access holes, all patchable. Careful locating with a small pilot hole is what keeps it to that.
Can I run pipe through an exterior wall?
Avoid it. Exterior walls carry insulation and vapour control that you do not want to disturb, and the cavity is usually obstructed. Interior partitions and stacked closets are the better route.
Will it affect my home’s value?
A working central system is generally viewed as an asset, though a half-finished one is not. If you start a retrofit, finish and commission it rather than leaving capped runs behind drywall.
Can I add inlets in stages?
Yes, and it is a sensible way to spread the work. Run the main line and one inlet first, live with it for a season, then add the others where you find you want them.
Realistic timescales
A three-inlet retrofit with an accessible attic and basement is a weekend for a competent DIYer, or a day for a crew that does it regularly. Add half a day per extra inlet. The pipe is nearly all the labour; the power unit mounts in under an hour.
Our installation overview covers the new-build case, and the sizing guide will confirm the unit before you buy pipe.