
Blog
Central Vacuum Installation: What to Expect Before You Start

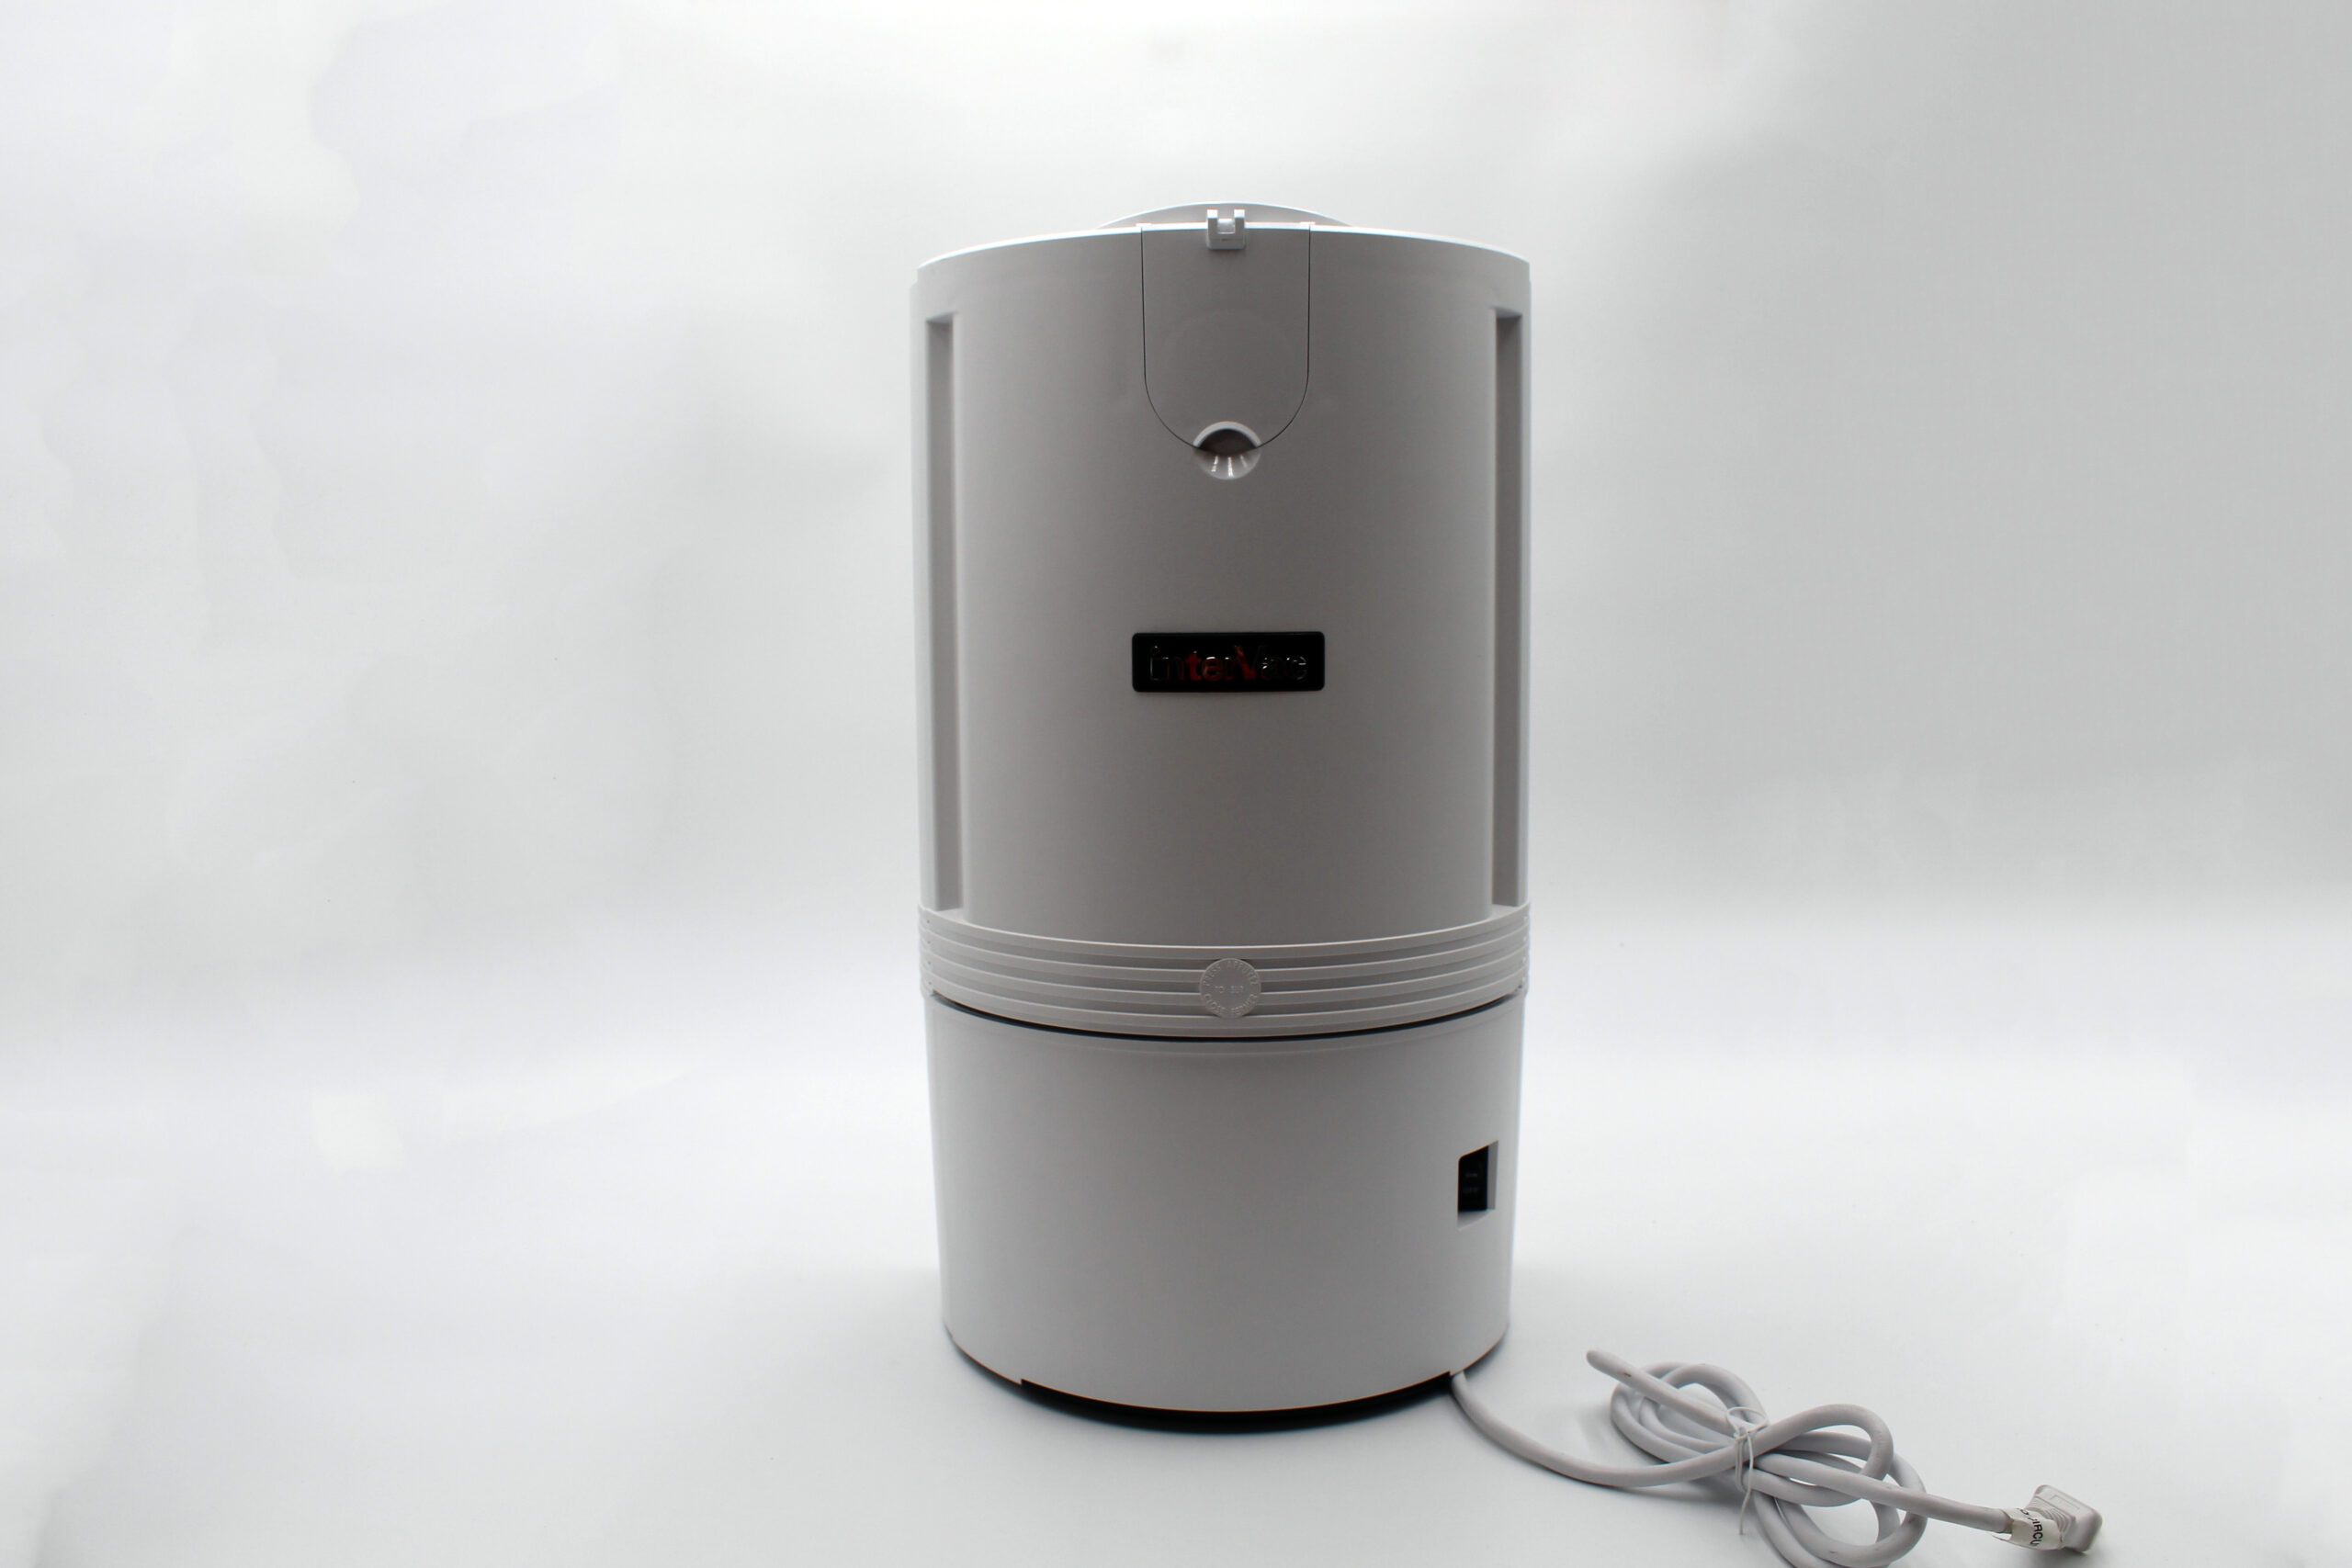
Most people picture a central vacuum installation as a construction project. In a new build it barely is. In a finished house it takes more planning, but it is still a weekend of work rather than a renovation. Either way, the decisions you make in the first hour shape how well the system cleans for the next twenty years.
Here is what the job actually involves, in the order you will meet it.
Step one: decide where the power unit lives
The power unit is the noisy part, so put it somewhere you do not sit. A garage, basement, utility room, or mechanical closet all work. Keep it off the living side of the house, and leave clear space in front of it so you can pull the bag out without moving anything.
Three practical constraints govern the spot. It needs a dedicated 120V outlet. It needs enough headroom above the bag door. And it should sit reasonably central to the pipe runs, because every extra bend costs you airflow. Our InterVac Pro is rated up to 3,000 sq ft, which covers most homes from a single well-placed unit.
Step two: plan the inlet locations
Inlets decide whether the system is pleasant to use. Too few and you drag hose around corners. Too many and you have spent money on pipe you never use.
Work from hose length rather than floor plan. With a 35+ ft hose, one inlet covers a radius of roughly thirty feet once you account for furniture and doorways. In practice that means one inlet per floor in a small home, and two or three per floor in a larger one. Put one near the stairs, since stairs are the job people most want a central vacuum for.
Do not forget the low-traffic inlets
A garage inlet earns its keep for car interiors. A kitchen-level VacPort, which is an automatic dustpan you sweep into, saves more time than any other single inlet. You can see the range on our VacPort page, and they fit most brands of central vacuum, not only ours.
Step three: run the pipe
Pipe is the part of a central vacuum installation that rewards patience. Use long sweeping bends instead of tight elbows wherever you can. Every sharp turn creates turbulence, and turbulence is where suction goes to die. Slope horizontal runs slightly back toward the power unit so debris keeps moving.
In a new build, the pipe goes in with the plumbing, before drywall. In a retrofit, the usual routes are interior wall cavities, closets stacked above one another, an attic, or a basement ceiling. Most retrofits use a combination. If you hit a wall you cannot get through, move the inlet rather than forcing the run.
Glue the joints properly
Central vacuum pipe uses low-voltage fittings and solvent cement. Dry-fit the whole run first, mark your alignment, then glue. A joint that leaks air will quietly cost you suction at every inlet downstream, and it is far harder to find later than to do right now.
Step four: pull the low-voltage wire
Two 22-gauge wires run alongside the pipe to every inlet. They carry the signal that starts the motor when you push the hose in. This is low-voltage work, not mains work, but it should still follow local practice for running cable in walls. The NFPA code library is the reference most inspectors work from.
Tape the wire to the pipe every few feet as you go. Leave a generous tail at each inlet, because trimming is easy and splicing is not.
Step five: mount inlets and commission the system
Fit the inlet valves last, once the drywall is closed and painted. Then test each one in turn. Push the hose in, confirm the motor starts, and hold your hand over the end to check suction. Work from the furthest inlet back toward the unit, since that is where a leak shows up first.
Finally, fit the bag and filters and write the model number somewhere near the unit. You will want it when you order bags, and nobody remembers it in three years.
How long a retrofit really takes
For a straightforward two-storey home with an accessible attic or basement, plan on a full weekend for a three-inlet system. Add half a day per extra inlet. The pipe run is most of the work; the power unit mounts in under an hour.
If a run blocks up later, our guide to clearing pipe blockages walks through the fix. Every installation detail for our systems is also in the manuals on our owner’s manuals page.
Questions we get asked before an installation
Can I do this myself?
Most homeowners can. The pipe work is solvent-cemented, similar to plumbing, and the wiring is 24V low voltage rather than mains. The two jobs worth hiring out are cutting into a finished ceiling and adding a dedicated outlet for the power unit, if you do not already have one.
How much pipe will I need?
Measure the route rather than the floor area. Walk each planned run with a tape and add ten percent for the bends and adjustments a real house forces on you. Buying slightly long is much cheaper than a second trip.
Does the power unit need its own circuit?
It needs a dedicated 120V outlet, and on a shared circuit the start-up surge can trip a breaker that is already loaded. If the garage circuit also feeds a freezer or a compressor, put the vacuum on its own.
What happens if a run is blocked later?
Most blockages clear from the inlet side without opening anything. Isolating which inlet is affected tells you roughly where the obstruction sits, which is why testing every inlet at commissioning is worth the extra half hour.
New build or retrofit, the same rules apply
To summarize a central vacuum installation in one line: put the unit somewhere you cannot hear it, place inlets by hose length, and treat every bend in the pipe as a small tax on suction. Get those three right and the rest is assembly.
If you want to sanity-check a layout before you buy pipe, send us the floor plan through our contact page and we will mark up the inlet positions.